Six (6) Year
Fire Extinguisher Inspection
Installed fire extinguishers that have been in service for 6 years in San Clemente, California should undergo a thourough examination which may include the possible replacement of horns, valves, collars, o-rings, defective gauges, cylinders, damaged hoses, frozen gauges or missing pins by qualified professionals.
Helping to assure fire extinguishers will comply with fire codes and also properly function when required in fire emergencies.
Six Year Service – Every six years extinguishers requiring a 12 year hydrotest shall be emptied and subject to thorough examination of mechanical parts, extinguishing agent and expelling means. When applicable maintenance procedures are done during periodic recharging or hydrotesting, the six year requirement will begin from that date.
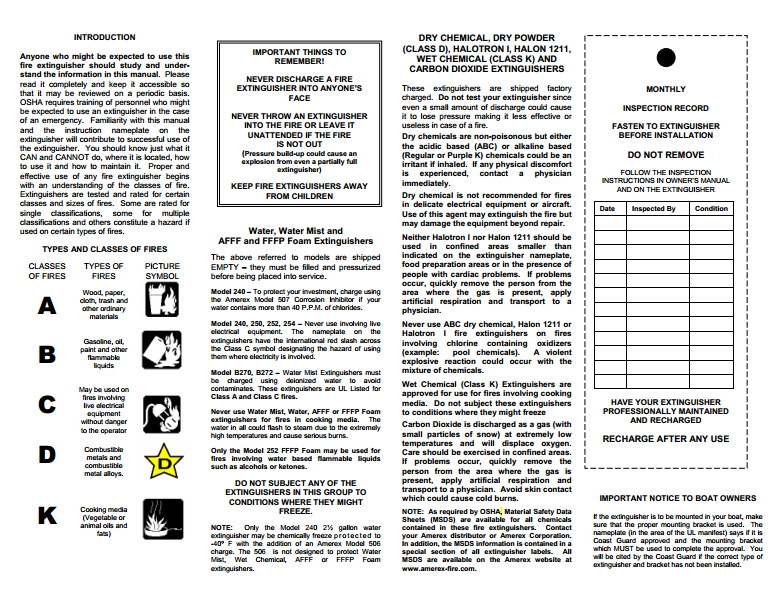
Below are Owners Manuals to aid in understanding the service & maintenance procedures for installed fire extinguishers and frequencies for tests & inspections. Pictured right is a quick reference for frequency of fire extinguisher tests & inspections in San Clemente, California. (Amerex Models)
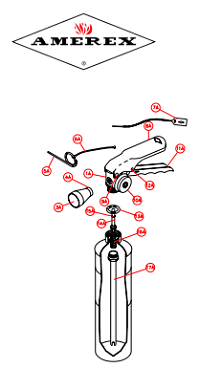
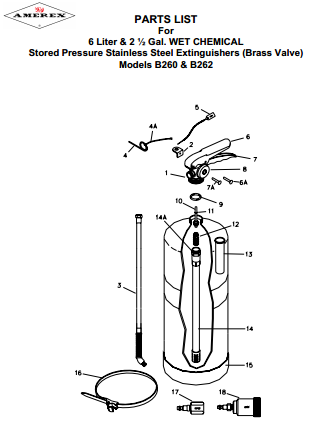
Six (6) Year Fire Extinguisher Service in San Clemente, California
Fire Extinguisher Replacement or Exchange
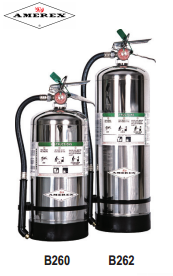 Every six (6) years fire extinguishers should undergo a thourough examination performed by qualified, authorized, certified, actively licensed fire extinguisher company in San Clemente, California. Every six (6) years fire extinguishers should undergo a thourough examination performed by qualified, authorized, certified, actively licensed fire extinguisher company in San Clemente, California.
Replacement Parts
The fire extinguisher company should use only manufacturer recommended replacement parts when performing recharge, service & repairs on portable, wheeled or fixed unit fire extinguishers in San Clemente, California.
The fire extinguisher company may suggest an equal and comparable replacement fire extinguisher, swap or exchange in order to expedite the six (6) year service procedure. Which may aid your home, business or workplace in complying with fire codes in San Clemente, California. |
Tear Downs
Six (6) Year Fire Extinguisher Inspections
Excerpt to Aid in Understanding the Maintenance & Inspection of Fire Extinguishers.
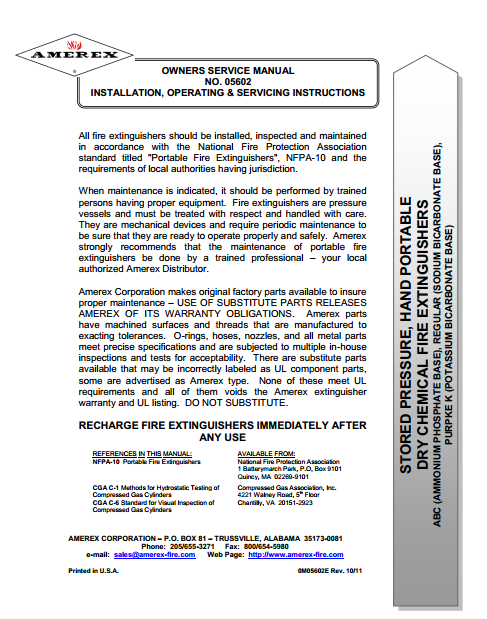
Below is a typical service procedure that should be completed by a factory trained and qualified fire extinguisher company in San Clemente, California for an Amerex Brand Fire Extinguisher No. 05602.
(Amerex Owners Manual# 05602, Stored Pressure Dry Chemical Fire Extinguishers)
|

  |
| 1 |
Clean extinguisher to remove dirt, grease or foreign material. Check to make sure that the
instruction nameplate is securely attached and legible. Inspect the cylinders for corrosion,
abrasion, dents or weld damage. If any damage is found, hydrostatically test in accordance with
instructions in CGA C-1 and C-6 and NFPA 10. |
| 2 |
Inspect the extinguisher for damaged, missing or substitute parts. Only factory replacement parts are approved for use on Amerex fire extinguishers. |
| 3 |
Weigh the extinguisher and compare with weight printed in the "Maintenance" section on the nameplate (label). Recharge extinguisher if weight is not within indicated allowable tolerances. |
| 4 |
Check the date of manufacture printed on the extinguisher label (nameplate) or on the agent cylinder dome. The agent cylinder must be hydrostatically tested every 12 years to the test pressure indicated on the nameplate. |
| 5 |
Visually inspect the pressure gauge:
- If bent, damaged or improper gauge, depressurize and replace
- If pressure is low, check for leaks
- If over pressurized (overcharged), depressurize the extinguisher and follow recharge instructions.
|
| 6 |
Check ring pin for freedom of movement. Replace if bent or if removal appears difficult. |
| 7 |
Inspect discharge lever for any dirt or corrosion which might impair freedom of movement. Inspect carrying handle for proper installation. If lever, handle or rivets are damaged replace with proper Amerex part(s). |
| 8 |
Install new tamper seal if broken and record service data on the extinguisher inspection tag. |
| 9 |
Remove nozzle or hose and horn assembly and visually inspect inside valve body. (Chemical in the valve body may indicate that the extinguisher has been partially discharged and should therefore be recharged). Inspect nozzle or the hose & horn assembly for damage – replace as necessary. Blow air through nozzle or hose and horn to insure passage is clear of foreign material. |
| 10 |
Inspect the valve assembly for corrosion or damage to hose thread connection. Replace valve assembly or component parts as necessary following the proper depressurization and recharge procedures. If valve removal is necessary, complete all steps in the Recharge Procedure. |
| 11 |
Install nozzle or hose and horn assembly. |
| 12 |
Replace the extinguisher on the wall hanger or in the vehicle bracket making sure that it fits the bracket properly and the bracket is securely attached – replace the bracket if necessary. |
|

